-
 South Australia State League 1
- Regular Season
- Vipers - WT Birkalla
Partido status:
FT
Vipers
WT Birkalla
4
2
0
A. Balamba
29'
39'
C. Devereux
M. B. Rodrigues
40'
A. Matosevic
45'
45'
C. Devereux
A. Balamba
64'
A. Balamba (pen.)
90'
El resultado final
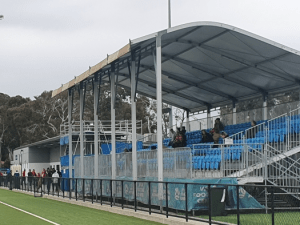
Apex Football Centre Pitch 1 (Adelaide)